SharePoint Web Part - SPS Divider Web Part

SPS Divider Web Part

SPS Divider web part, which allows user to add horizontal gap with great visual images & lines between 2 web parts. Users can use this web part to show some horizontal space with some visual effects.

Now add the first web part and then just below of the web part, add SPS Divider web part. Now add another web part just below the SPS Divider web part.

Here we are providing the 15 best layouts which show information very efficiently on the web part.

So the user can select any suitable layout to show division between 2 web parts.

We have following web part sections & properties: -

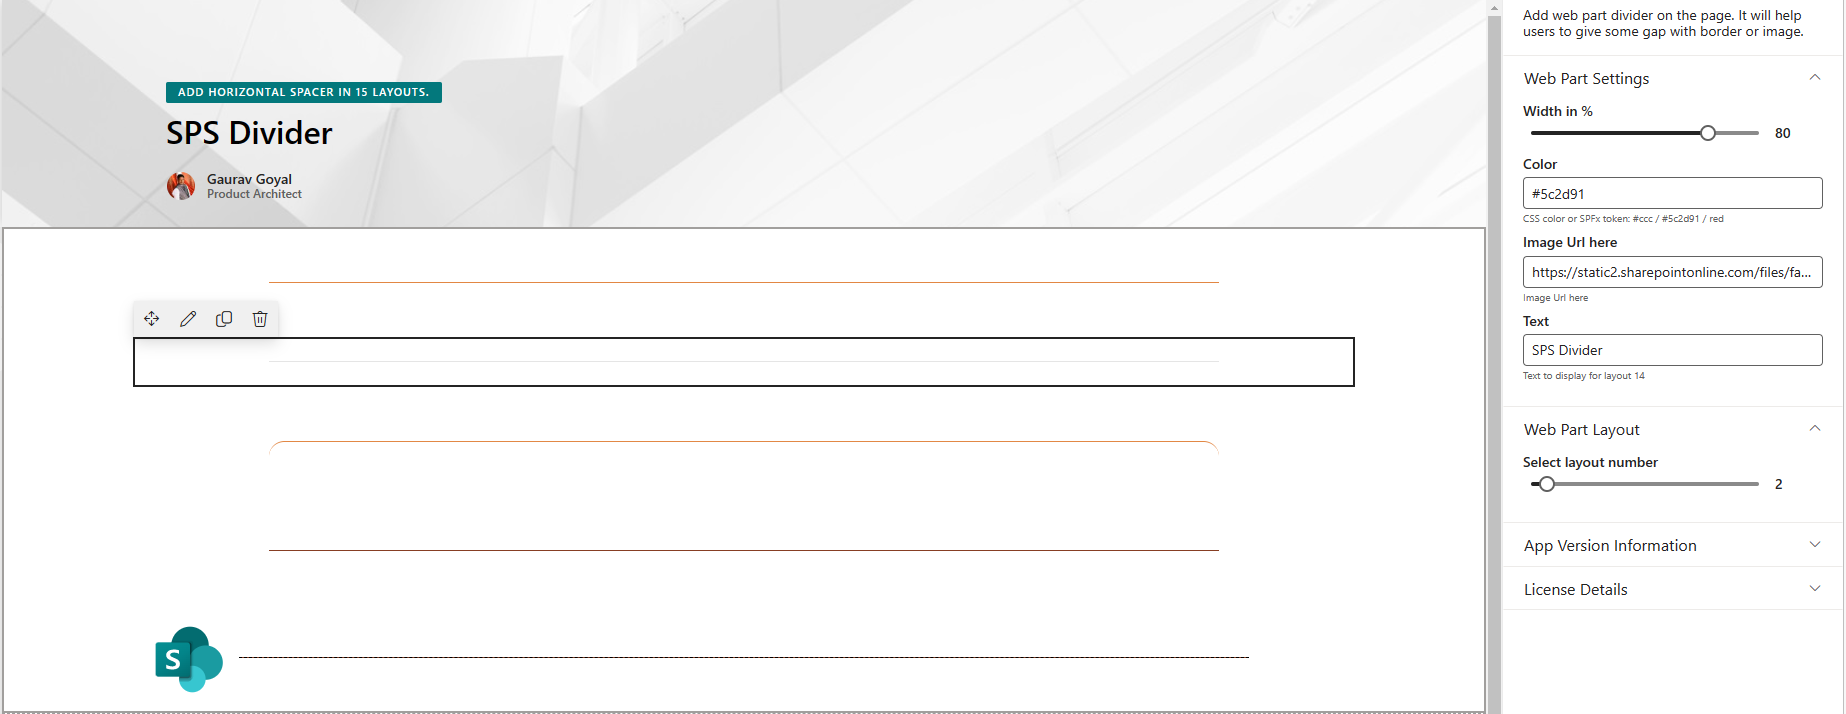
1. Web Part Settings

  • Width in % - User can resize the width of visual line & image. Default value is 80%
  • Color – User can use their own choice color here. You need to add HEX code of color i.e. #2596be
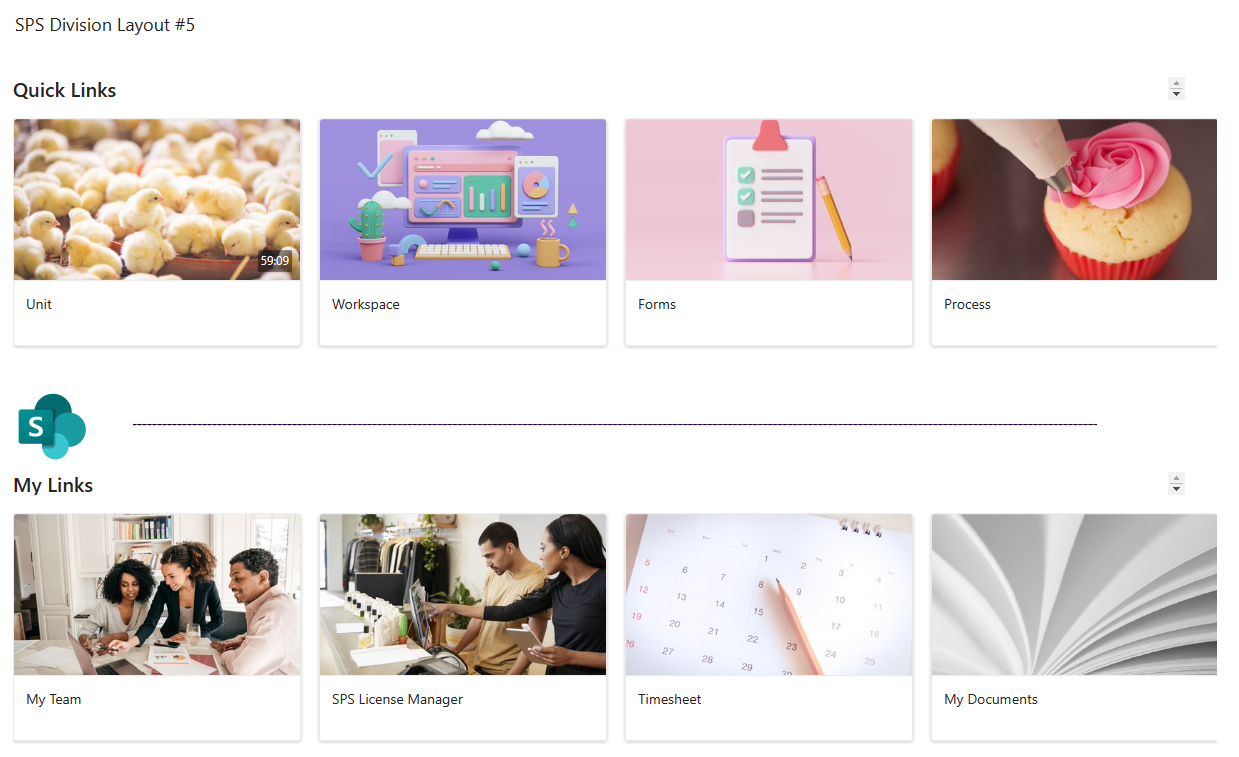
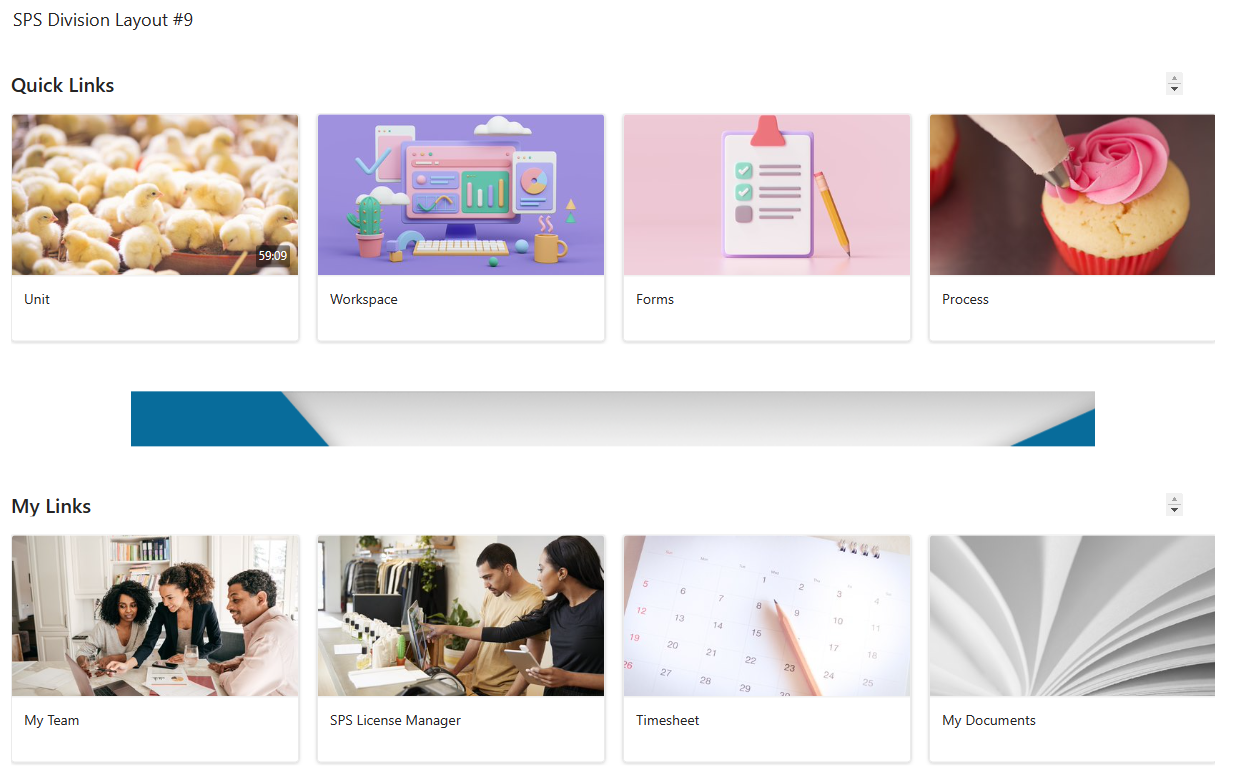
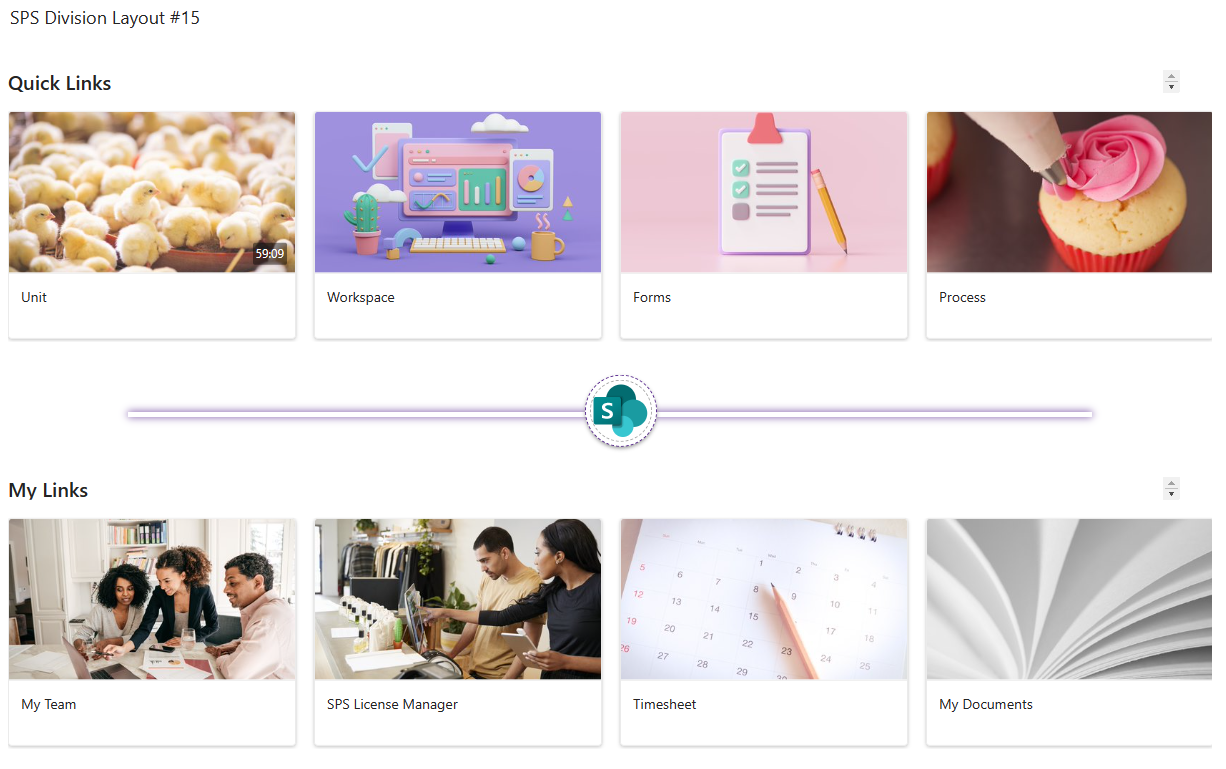
  • Image URL – You have put image URL here to show. This image URL can be used in layout # 5, 9 & 15.
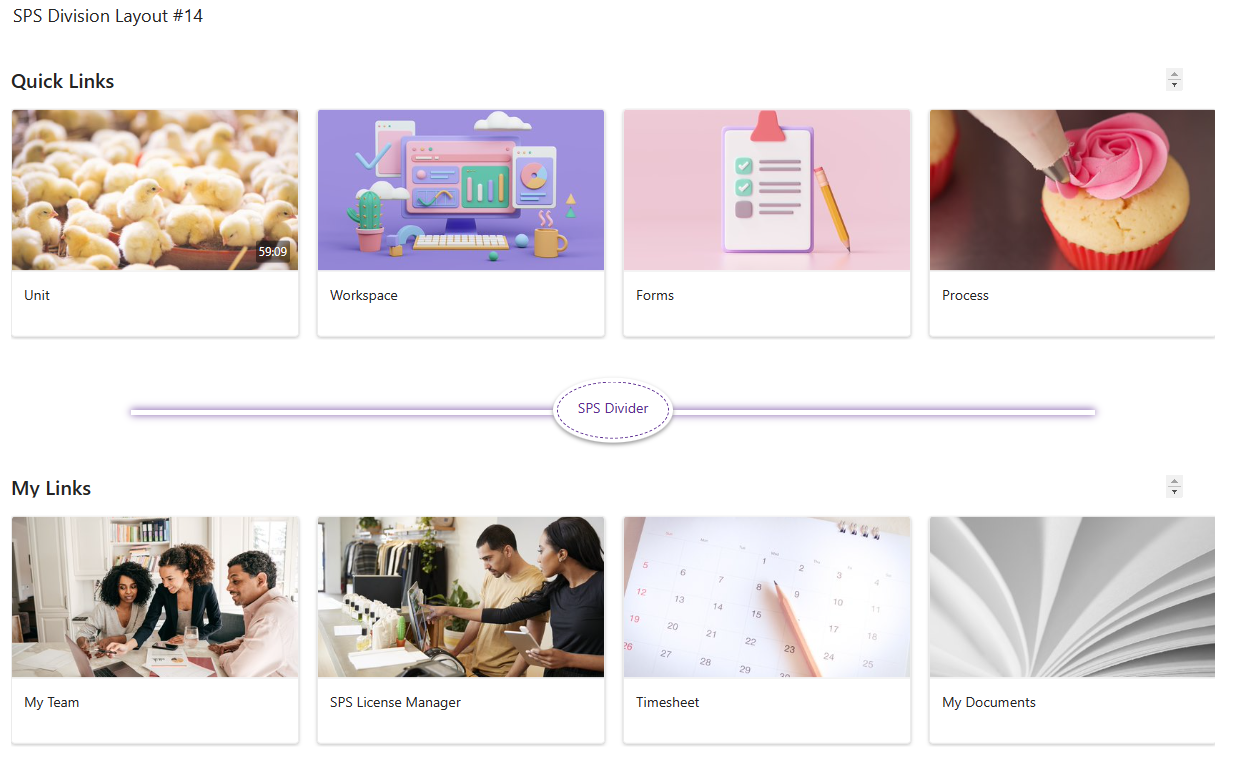
  • Text – User can use this property to show text in layout # 14

2. Web Part Layout

  • Select layout number - With this option, the user can select any layout from 1 to 15.

3. App Version Information

  • Here we are showing information about the app version , solution version, manifest version, Help & Support email.

4. License

  • In this section, we are showing information about licenses.

SPS Divider Web Part is responsive & usage SharePoint theme for it's coloring.

This web part support SharePoint theme. Currently this web part is for SharePoint Online version only.

DOWNLOAD PACKAGE FILE

Supported Hosts :

  • SharePoint
  • SharePoint Full Page

Installation of App :-

  1. Click here to download the sps-divider.sppkg.
  2. Visit the Microsoft 365 SharePoint Admin Center
  3. Go to Apps -> App Catalog. If you don't have app catalog, here are the instructions for creating one.

    If you have Site Collection level App Catalog, just to to Apps for SharePoint from your site collection.
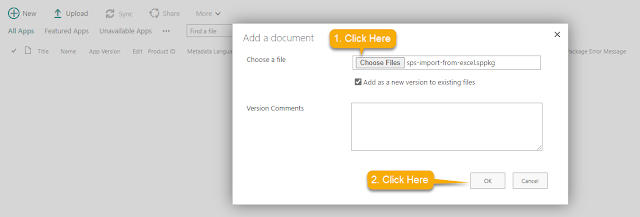
  4. Click 'Upload' and select sps-divider.sppkg file to upload.


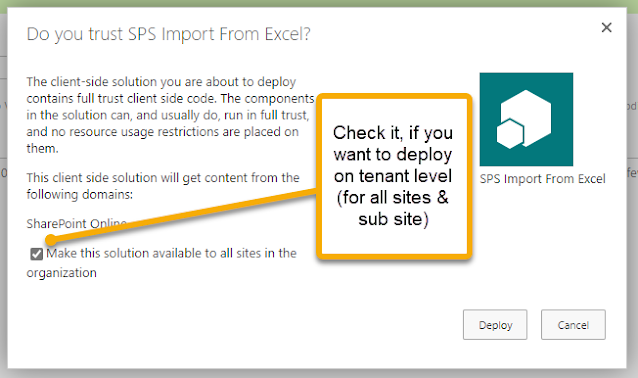
  5. Check the box for Make this solution available to all sites in the organization and click the Deploy button.


  6. A successful installation will look like this:


  7. if you receive an App Package Error Message stating, "Deployment failed," as shown here, simply delete the .sppkg file and repeat steps 4 and 5 to redeploy.
  8. Now go to the site where you want this tool. Just create a new page or edit existing page and add a webpart 'SPS Divider Web Part'.


  9. The SPS Divider webpart can be setup with Edit Web Part properties :


  1. Showing view what you have selected #1

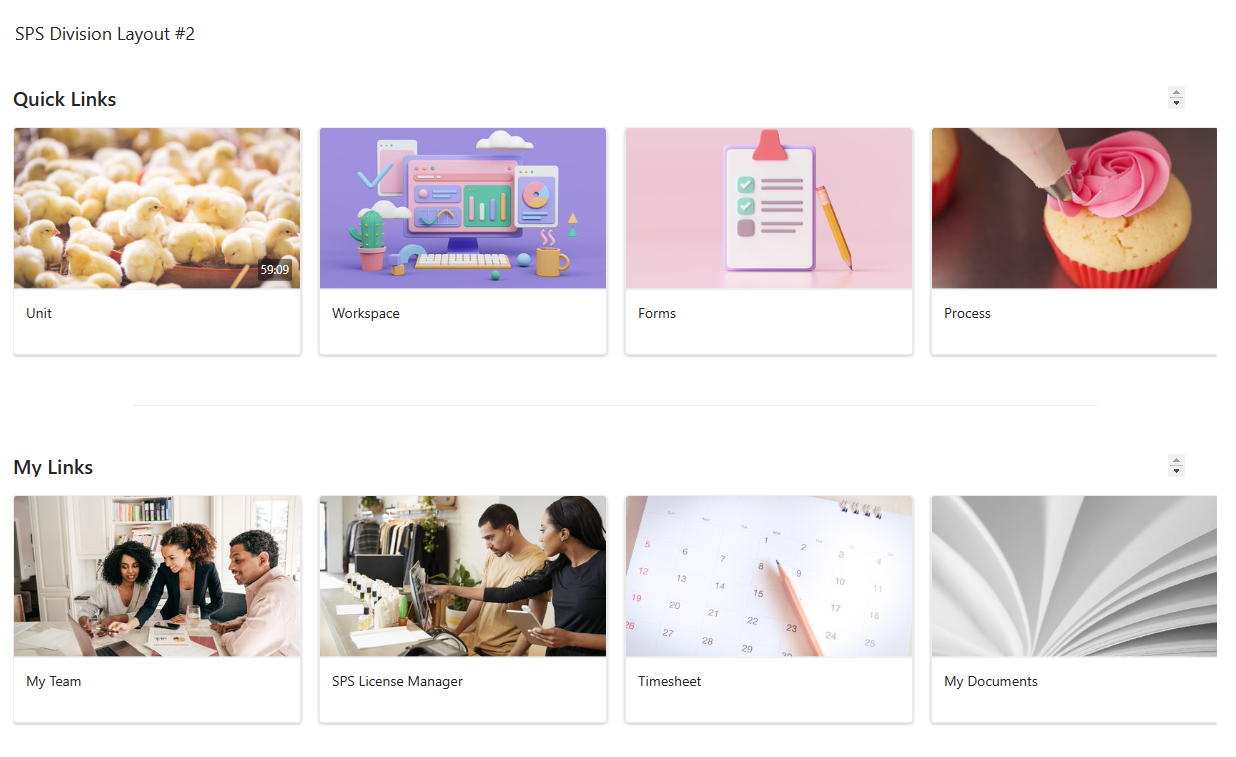
  2. Showing view what you have selected #2

  3. Showing view what you have selected #3

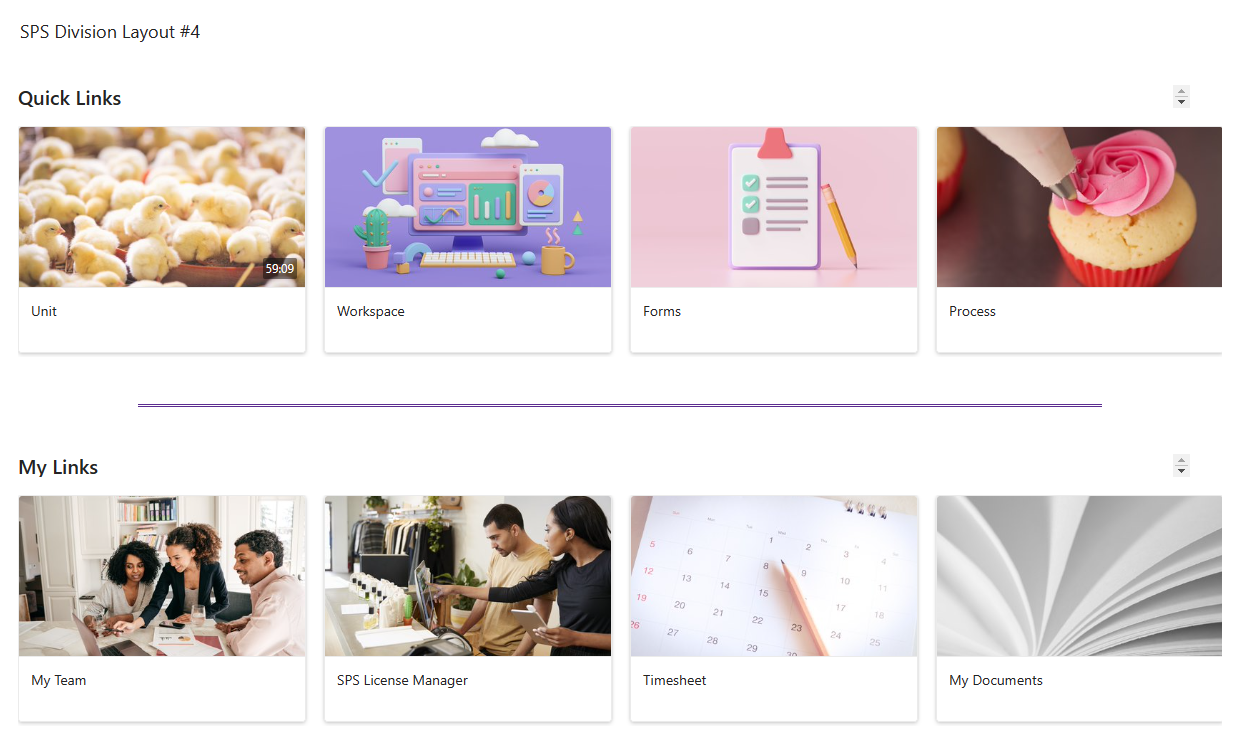
  4. Showing view what you have selected #4

  5. Showing view what you have selected #5

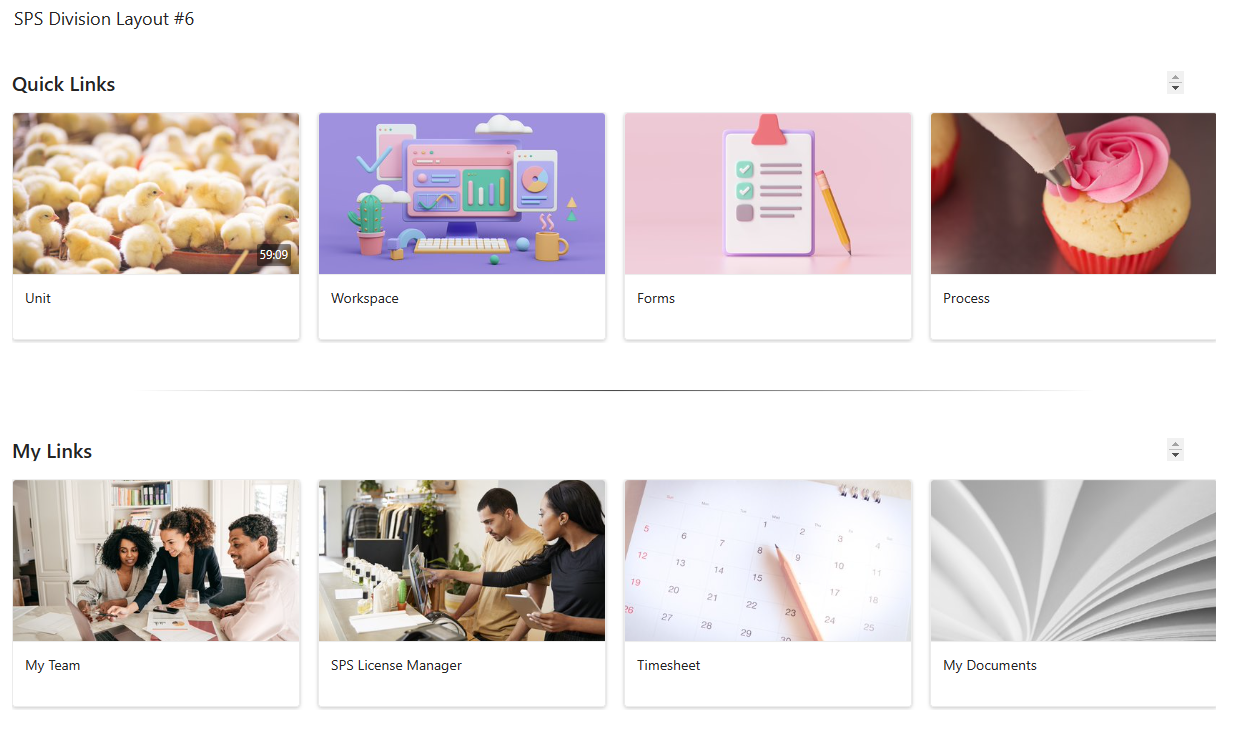
  6. Showing view what you have selected #6

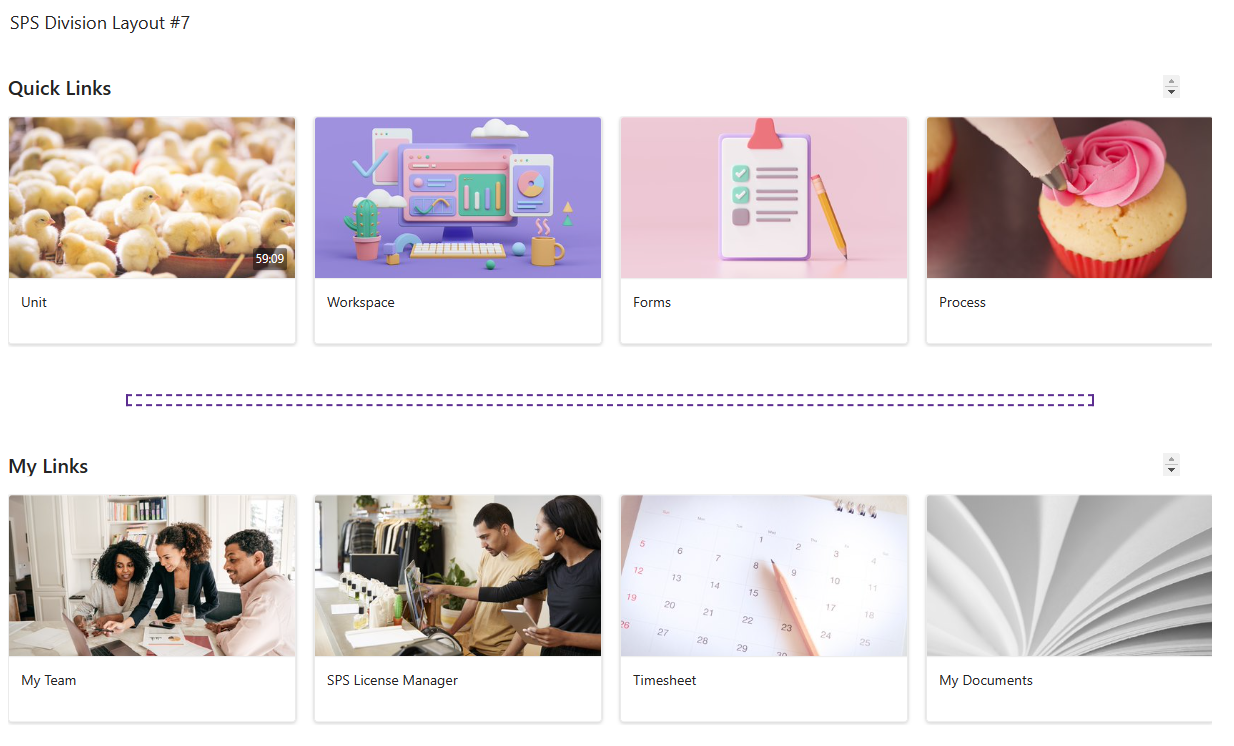
  7. Showing view what you have selected #7

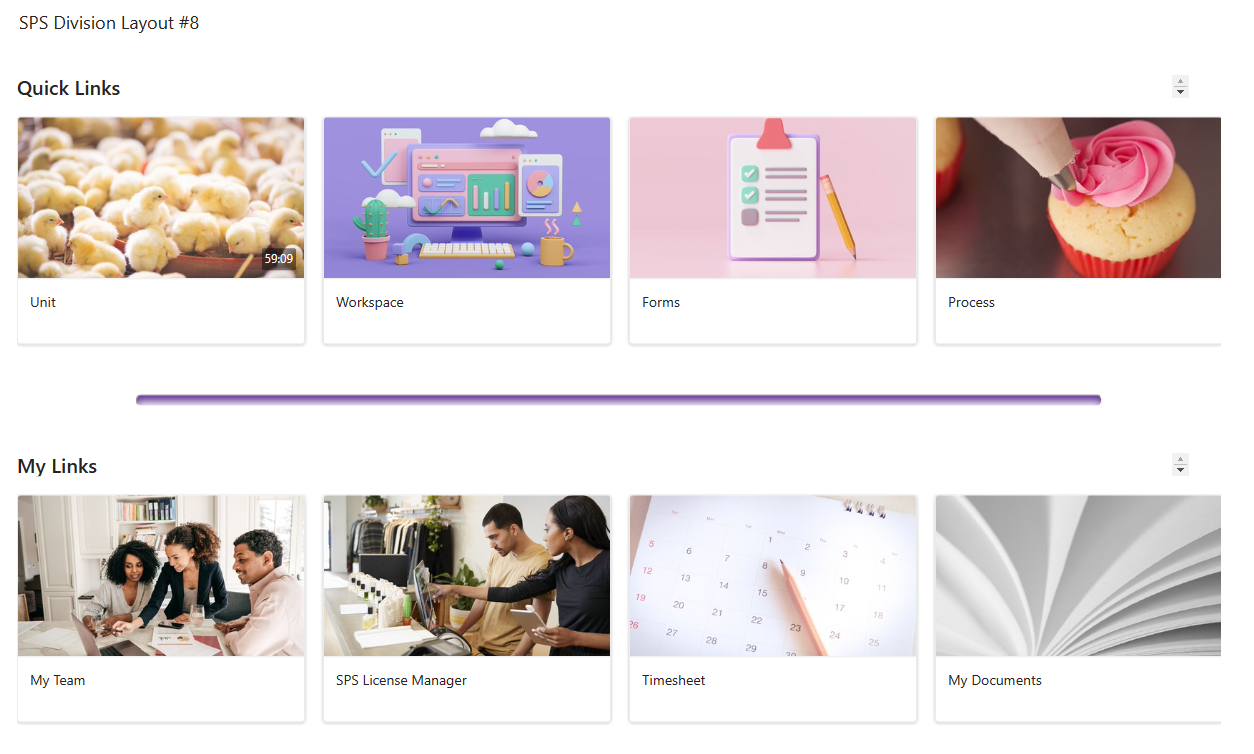
  8. Showing view what you have selected #8

  9. Showing view what you have selected #9

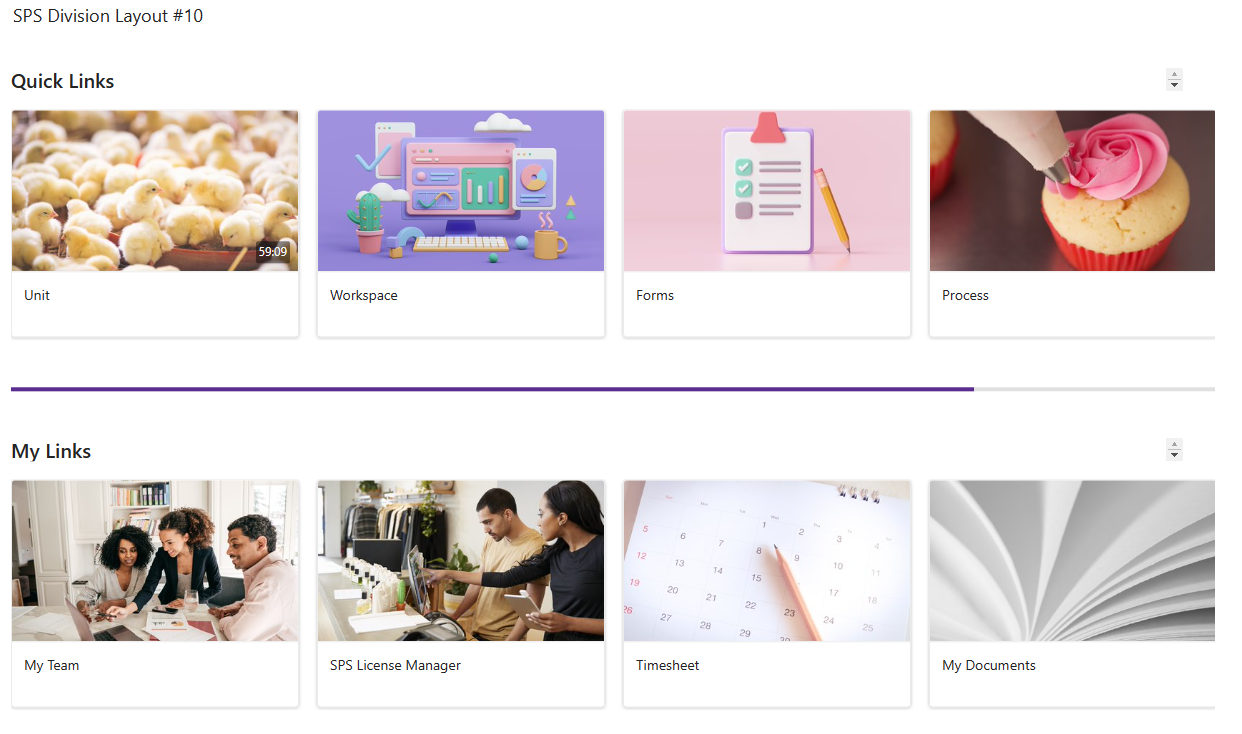
  10. Showing view what you have selected #10

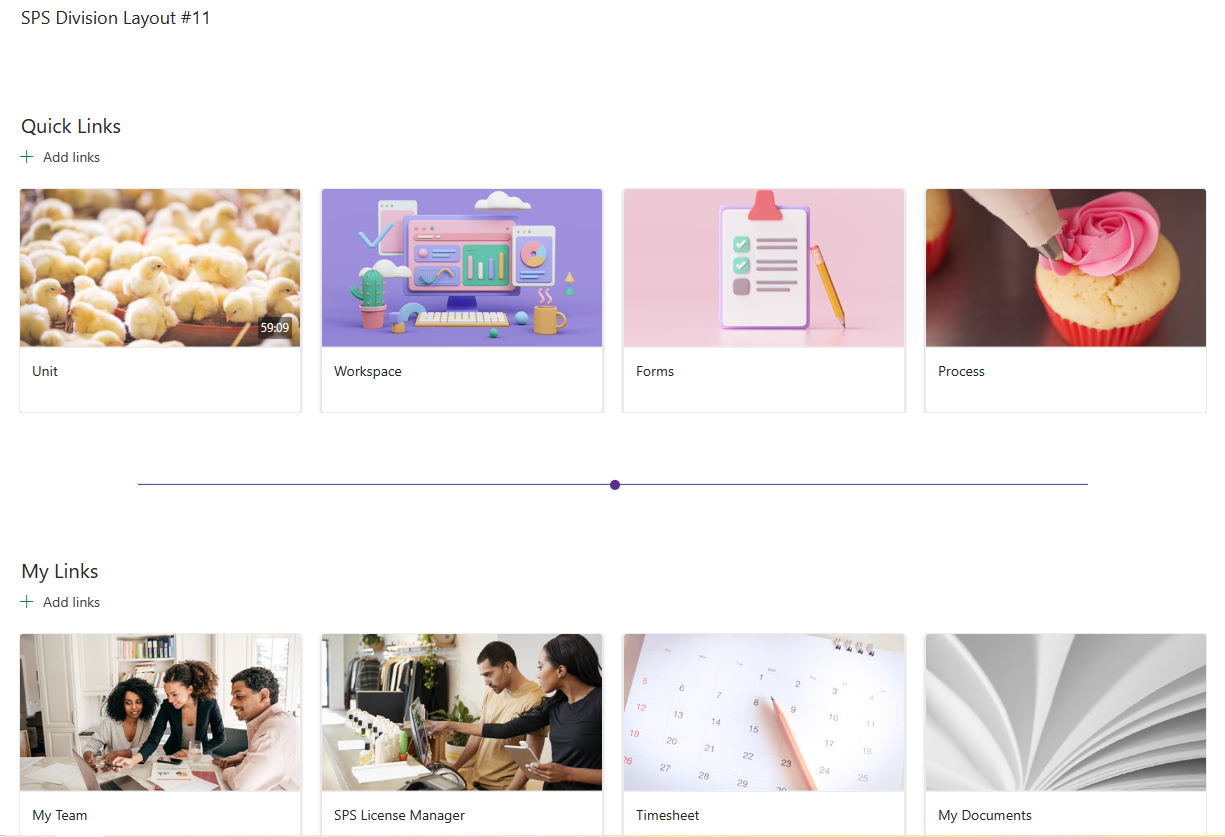
  11. Showing view what you have selected #11

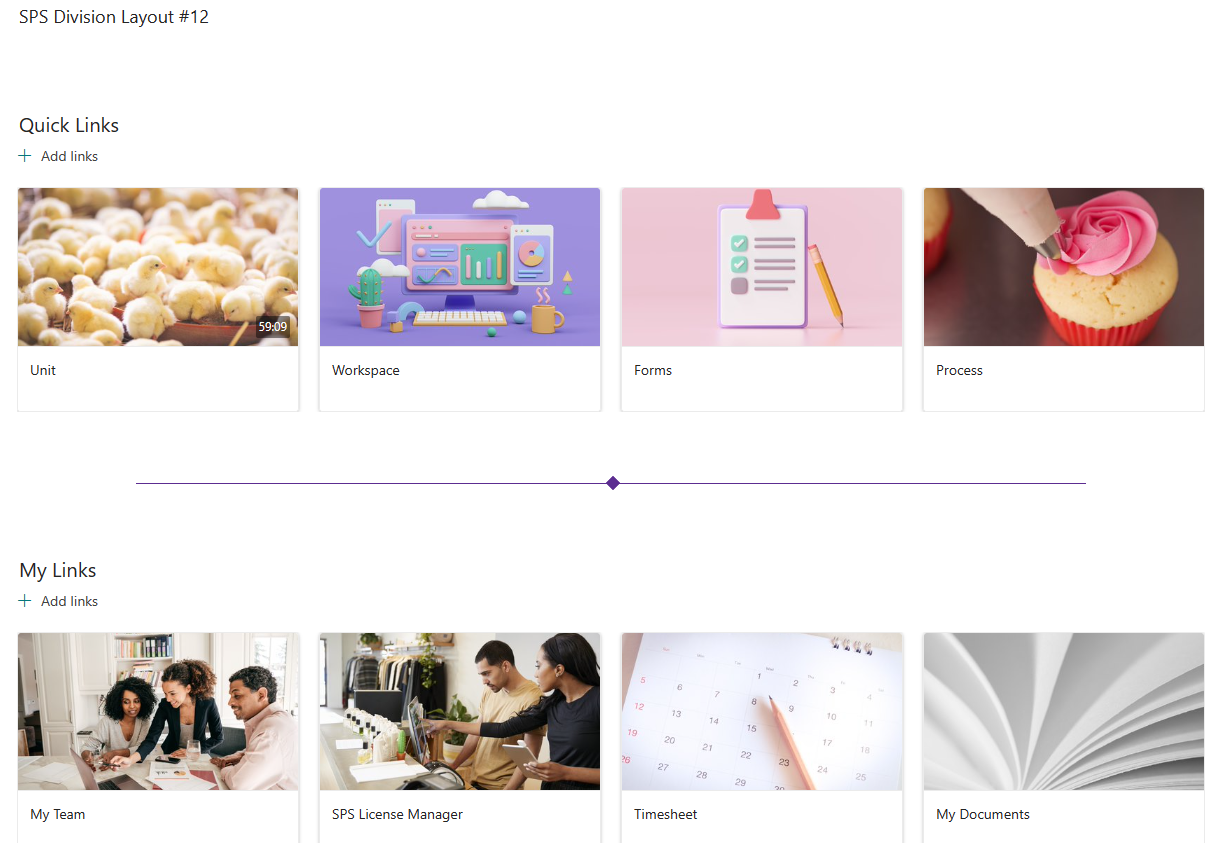
  12. Showing view what you have selected #12

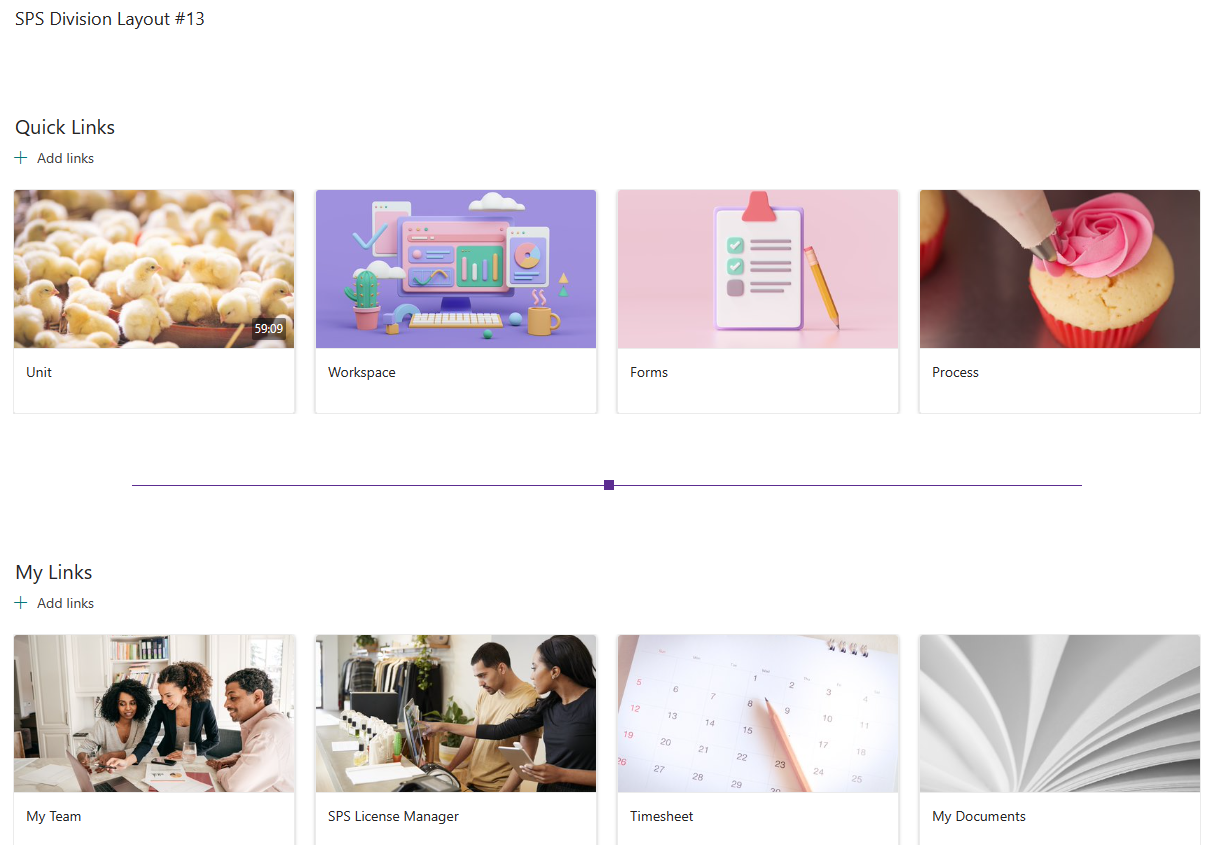
  13. Showing view what you have selected #13

  14. Showing view what you have selected #14

  15. Showing view what you have selected #15

Contact

Contact With Me

Gaurav Goyal

Chief Operating Officer

I am available for any help. Connect with me via and call in to my account.

Phone: +91-982-621-1734 Email: gauravgoyal_5@yahoo.com